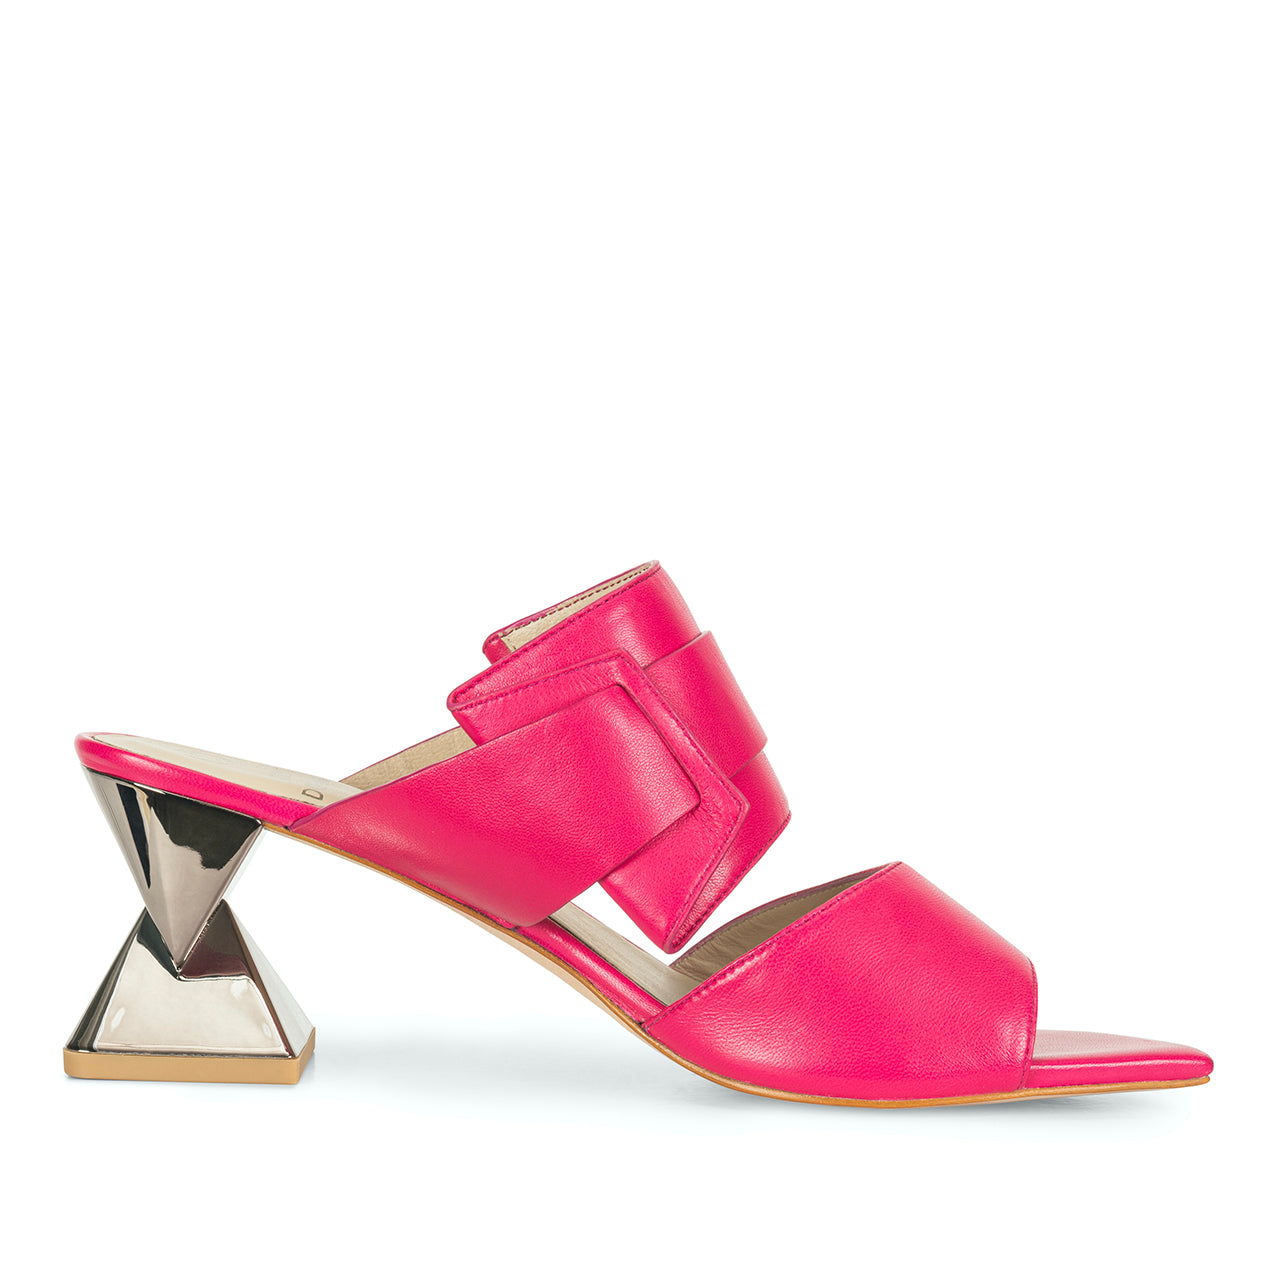
Designing a women’s shoe heel isn’t just about drawing a beautiful silhouette—it’s about transforming an idea into something wearable, balanced, and structurally sound. The journey from my sketchbook to the moment a heel hits the runway is a fascinating blend of artistry, engineering, and craftsmanship. Here’s a look behind the scenes at how one of my heels comes to life.
1. It Begins with a Sketch
Every heel starts as an idea. Sometimes it’s sparked by architecture, a shape in nature, or even a fleeting mood. I sketch out different angles of the heel—side view, back view, and perspective. The sketch is about capturing proportion and attitude: will the heel feel bold and architectural, or soft and romantic? At this stage, it’s pure creativity.


2. Prototyping in 3D
Once the design feels right on paper, it moves into the technical stage. Using 3D design software, the sketch is transformed into a digital model. This allows me to check the geometry, thickness, and balance
A 3D-printed prototype is then created—essentially a first draft of the heel in physical form. I can hold it, put it under a shoe last, and immediately see if the proportions translate from drawing to reality. This step saves enormous time and cost because adjustments can be made before expensive molds are cut.


Prototyping doesn’t always have to be high-tech. Sometimes, the first trial of a heel can be made out of anything at hand—paper, cardboard, clay, wood, or even found objects. These quick mockups let me play with proportions and experiment freely before moving into digital or 3D-printed versions. It’s a creative, low-pressure way to test ideas in real space.

3. Making the Molds
When the 3D prototype is finalized, the factory begins creating metal molds. These molds are what will actually form the heel material, often ABS or other reinforced plastics, which are later finished with coatings, coverings, or wrapped in leather.
Here’s where many people don’t realize the complexity: women’s heels require multiple molds for different shoe sizes. Unlike flat shoes, where one mold can often cover several sizes, heels must be proportioned carefully so they remain stable and elegant. For example:
-
One mold is made for sizes 36–37
-
A second mold for sizes 38–39
-
A third mold for sizes 40–41
Each mold is an investment, but it ensures the heel looks balanced and performs correctly across all sizes.
4. The First Real Heels
Once molds are cut, the factory produces the first batch of test heels. These are attached to sample shoe uppers, and I carefully review them for:
-
Balance (Does the heel feel stable underfoot?)
-
Proportions (Does it look as elegant in size 36 as in size 41?)
-
Finish (Does the surface, whether lacquered, covered, or wrapped, achieve the look I envisioned?)
It often takes several rounds of refinement—sometimes tweaking millimeters—to get everything just right.

5. From Idea to Collection
Finally, when the heel passes all tests, it’s ready to be used across a collection. Sometimes a single heel design will carry multiple upper styles—sandals, pumps, or boots—giving a cohesive signature look to a season.


The Beauty of the Process
For me, the most rewarding moment is when I see a model walking in a shoe with a heel that started as just a sketch in my notebook. Every step she takes is supported by hours of design work, engineering precision, and craftsmanship that most people never see—but that’s what makes luxury footwear so special.
✨ Designing a heel isn’t just about style—it’s about innovation, balance, and turning creativity into something women can wear with confidence.


